First Android Game - Part 4 June 19, 2023
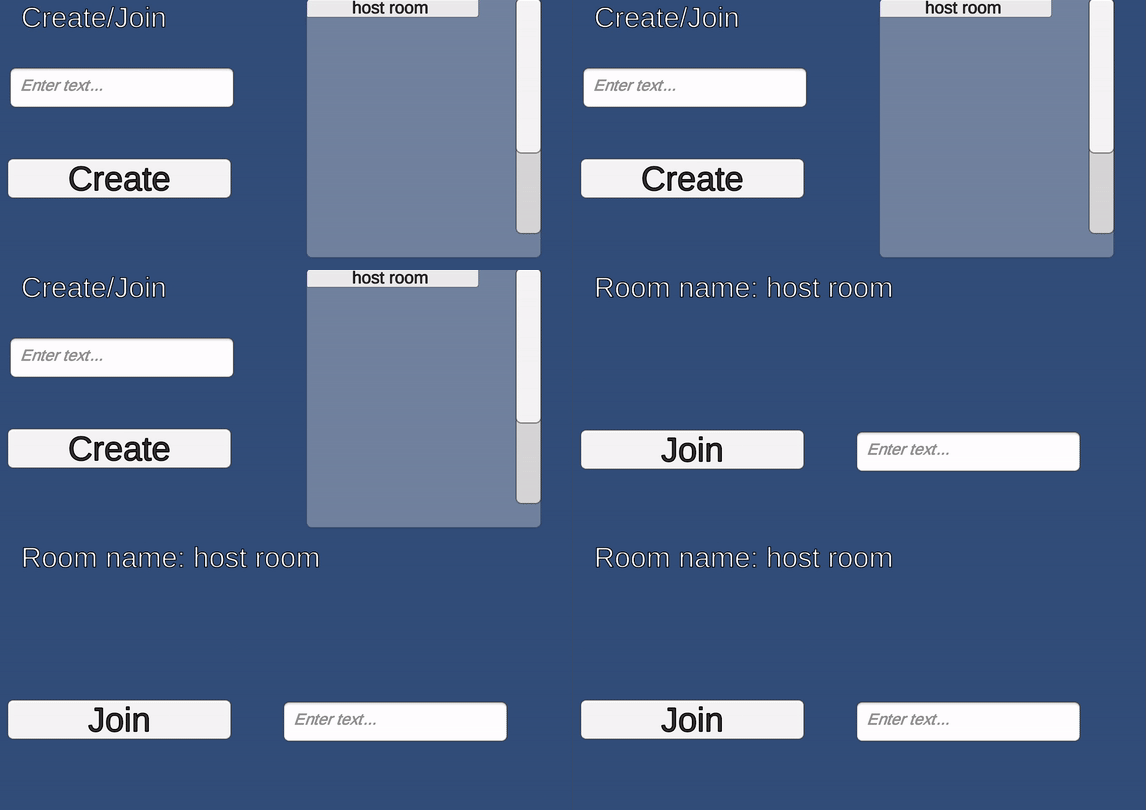
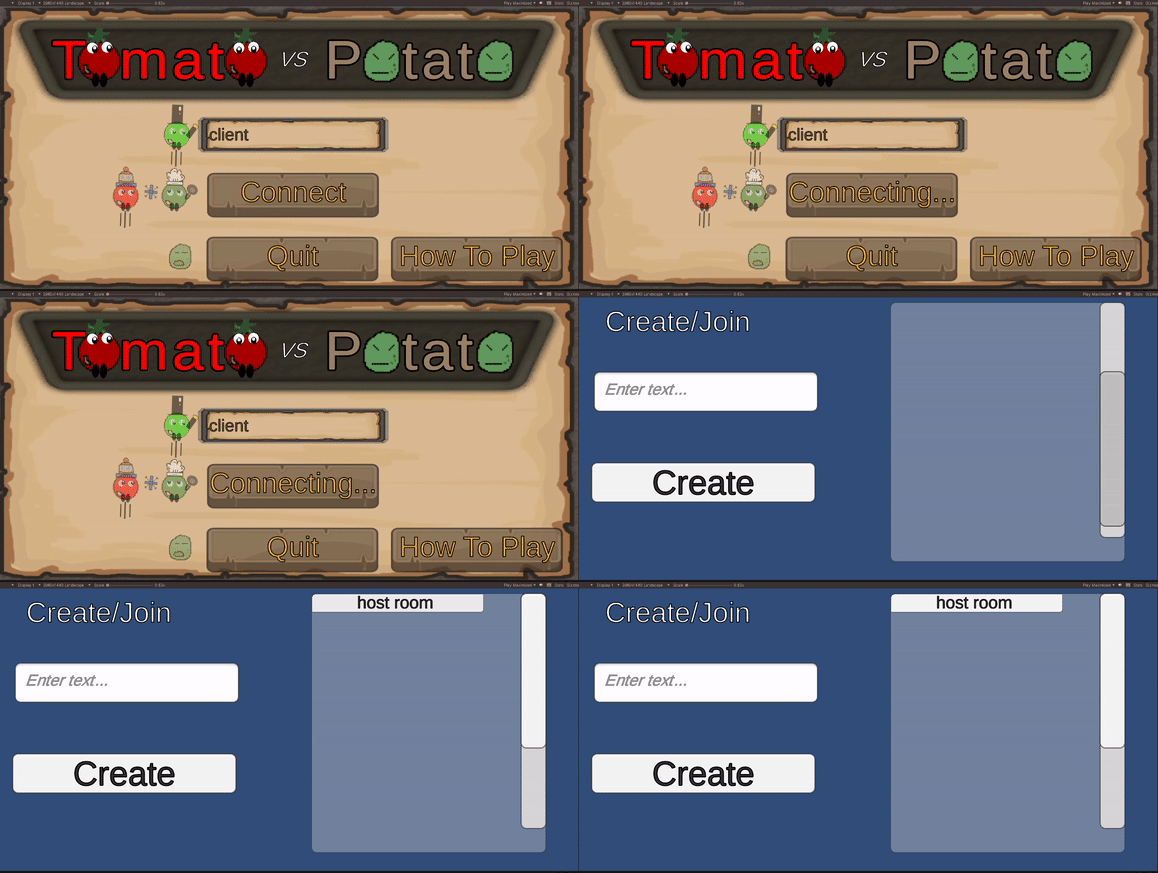
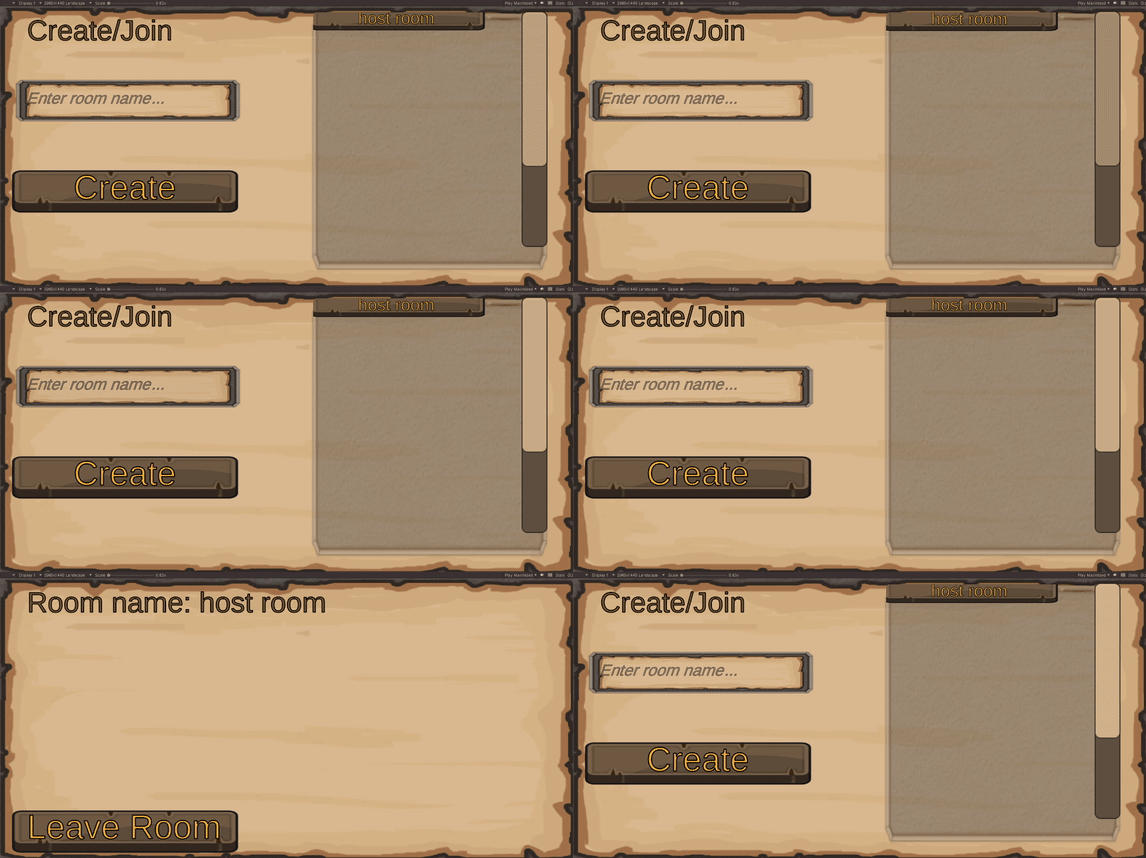
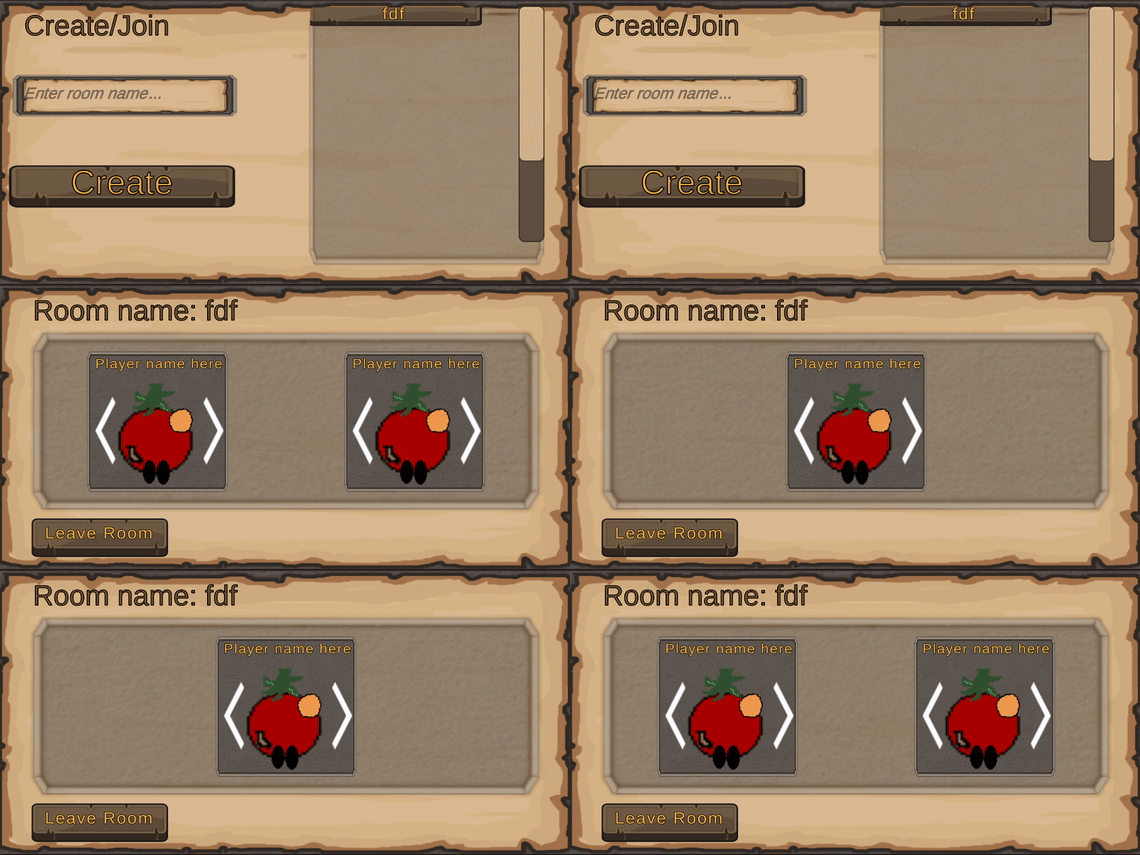
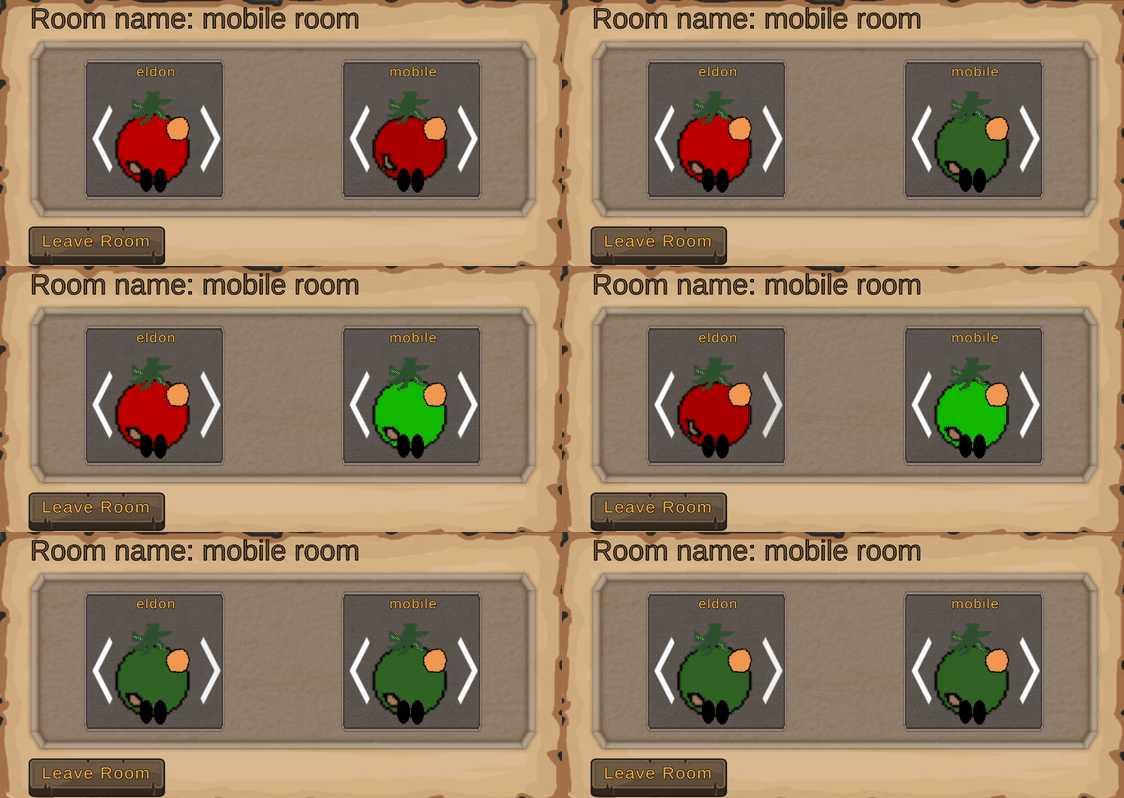
This is part 4 of making my first Android Game. If you missed part3, you can find it here I am following the tutorial to create photon here.Time to add in Photon so my game can be a multiplayer game. First I created an app on the Photon dashboard. I selected PUN as the photon type I then imported the Photon unity asset called PUN 2 free here I created a new scene and named it Loading with a Loading text. I created an empty gameobject called "ConnectToServer" and attached a script called "ConnectToServer" that calls PhotonNetwork.ConnectUsingSettings() I added a Lobby scene and created two inputfields and buttons for create and join. Added two callback functions into ConnectToServer script. They are OnConnectedToMaster() and OnJoinedLobby(). This allowed the loading scene to load into lobby Now that was a basic way to connect to the lobby. I wanted to allow users to enter their names. So I started following this tutorial here. In my start menu I removed the one and two player button. I replaced them with an input field for the user to enter their name and a button to connect to the lobby. The PhotonNetwork.ConnectUsingSettings(); gets called if the user has entered a name and pressed the connect button. The button text will display "Connecting..." while trying to enter the lobby. One thing to note that I changed in the ConnectToServer script in the OnConnectedToMaster() callback function is that the code PhotonNetwork.JoinLobby was removed. I made a build with the main menu scene, lobby scene and game scene, the player's movement are still synched up. PhotonNetworkJoinLobby will let the master see the list of rooms. In my case, I don't want the user to see all the rooms available, but the master will create the room and tell the client what room to join. Another idea which I'm not sure if I'll implement is do display all the rooms available but if the client wants to join the room they'll have to enter a password After a quick search. It appears that the rooms cannot be password protected. However, looking at the Demo asteroid from the PUN asset, I can specify the maximum number of players. This will allow friends to join each other's room and maxout the number of players and avoid strangers joining them if they don't want others to join. This means I can either go with my first route and have the client enter the room name to join the master's room. Or display all the rooms so that anyone can play with each other but have a max number of players in case the master only wants to play with friends. The problem with the second route is this game is only implemented for two players Looking more into the demo asteroid game, when the players join the room, they will need to click "ready" Once all players have clicked ready, the "Start game" button appears. If the master clicks ready and then the client joins the room, the start game button will be disabled and reenabled until the client clicks ready In the game, the score is displayed on the top for each user. The score for a player and the player itself will disappear if that player drops out The next step is to improve the lobby scene so that instead of a create and join button, replace it with a create, display rooms, join, and display players. First step was to remove the CreateAndJoinRooms.cs with LobbyManager.cs. The LobbyManager.cs in the Lobby scene first disables the room panel which will display the players in this room. There is a create button that lets the host create a room. I hardcoded it so there can be only a maximum of 2 players. All the code does is create a room and display the room name in the room panel The rooms created will need to be displayed in the lobby panel. The OnRoomListUpdate() function is called when PhotonNetwork.JoinLobby is called so I can get the list of the rooms. I created a prefab with an image and textmeshpro UI to be displayed in the scrollview. These prefabs are instantiated by checking how many rooms there are. I made sure to keep only Scrollbar Vertical so users can only scroll vertically. I also added the Vertical Layout Group component on the ScrollView > ViewPort > Content gameobject. The code was working but the placement of the UIs was not, the prefab which is spawned under Content does not get displayed properly. The prefab (roomItem) that gets spawned does not show the text. I double checked the textmeshpro component and the text does show the room name. It appears the text is not within the Content gameobject's rect transform. In addition, when I add multiple roomItem prefabs under the Content gameobject. The roomItem prefabs are stacked on top of each other However, when I add plain images, they are displayed properly like the way the vertical layout group is intended to do. This tells me something is wrong with my prefab-maybe because of the Canvas gameobject in the roomItem prefab? I unpacked the prefab completely for the roomItem prefab.I unchilded the images and text out of the roomitem gameobject. The text and image are doing what the vertical layout group is expecting! I then childed the image and text under the Canvas gameobject but unchilded the Canvas from the roomItem gameobject. The Canvas are doing what the vertical layout group is expecting! So issue is childing the Canvas,text and image under the roomItem My solution is to redo roomItem but this time creat roomItem from UI > Button(TMP). Then attach the RoomItem script which will set the text to the room name. I quickly added multiple roomItem prefab under Content to see if it will be displayed properly - it did! I then tested in the game where on mobile the host creates a room called "host created a room", and the editor which is the client will join the room. The lobby panel will display the room! The lobby panel displays the rooms created, but the client can't click on the buttons displayed in the lobby panel. So when the button is clicked I call PhotonNetwork.JoinRoom(). This will then call the OnJoinedRoom() function Currently the user cannot leave the room when they are in the room Panel. So the Join Room Button is replaced with the Leave Room Button. PhotonNetwork.LeaveRoom is called which will call OnLeftRoom(). When we leave the room, the list of rooms needs to be updated. To do that PhotonNetwork.JoinLobby needs to be called again. We can call this in the callback function OnConnectedToMaster(). OnConnectedToMaster() is called because LeaveRoom() is called - remember LeaveRoom() is defined as "Leave the current room and return to the Master Server where you can join or create rooms " The OnRoomListUpdate() callback function gets called in quick succession. So a timer is added to prevent the UpdateRoomList() to be called multiple times Now the host can create and leave rooms. The client can join and leave rooms as well Then with a little UI update so the lobby is consistent with other scenes Next task is to list the players that have joined the room. I created a PlayerItem prefab that contains a textmeshpro component which will be the player's name. The image which will be the player's avatar. In this case, the hat,arm would be the same for now. I will be changing the body only. There are arrow buttons on the player item prefab as well After I added an image containing a horizontal layout group which will list out the players in the room. With the PlayerItem prefab created, I can spawn the PlayerItem prefab into the game. I made a function called UpdatePlayerList(). This function will first clear the player List, check if the room exists then spawn all the playersItems into the Panel. This function is called during OnPlayerEnteredRoom(Photon.Realtime.Player newPlayer), OnPlayerLeftRoom(Photon.Realtime.Player otherPlayer),OnJoinedRoom() I would Instantiate the PlayerItemPrefab under "Listing" gameobject. As shown in the gif below, the playerItem are spawned when a player joins or leaves the room The PlayerItem currently does not display the Player's name. The Photon.RealTime.Player has a property called "NickName". So when UpdatePlayerList is looping through the Photon.RealTime.Player list, I pass in the value from the key value pair player, I would have access to the player which then allows me to get access to Photon.RealTime.Player.NickName All the PlayerItem will display the player's NickName! To allow the players to select a customized avatar, I will modify the PlayerItem script. As explained in the youtube tutorial, to synchronize across the network for the modifications we make in the room, we will make custom properties using ExitGames.Client.Photon.Hashtable. I will have an Image called playerAvatar that will change the image of the avatar and an array of sprites that contains all the avatars that the user can change to. The Left arrow and right arrow will loop through the array. To make sure the changes are sent across the network, we will call PhotonNetwork.SetPlayerCustomProperties(), passing in the property. The OnPlayerPropertiesUpdate() callback function will be called on all of the player items each time a property has been modified on the network and will be stored in the targetPlayer of type Photon.RealTime.Player. We will check if the player itself is calling the UpdatePlayerItem() function. This function checks if it contains the playerAvatar key in the custom properties, then assigns the image to the sprite. We will save the avatar that we choose so that if we leave the room and come back, the same avatar is chosen. However, if the player does not have the synchronized custom property yet, we will set the playerProperty["playerAvatar"] to 0. In the SetPlayerInfo function, we assign the Photon.Realtime.Player to the player being passed in and call UpdatePlayerItem() so that we update the player avatar once at the very start when we join the room In the LobbyManager.cs, OnClickCreate() function, where PhotonNetwork.CreateRoom is called. We will add another room option after the MaxPlayers, called BroadcastPropsChangeToAll and set it to true. This tells Photon we want to send and receive custom properties in this room I then dragged all the sprites I want the player to change to into the sprites array Now the players can see what avatar the other player chooses. One problem is I can click on the arrow buttons of the other player. Although, clicking them won't change other player's avatars - it does change my own avatar. To resolve the arrow button being clickable. I disable the arrows on the prefab. In PlayerItem I create a function called ApplyLocalChanges() and enable this function. This function would be called in the LobbyManager.cs UpdatePlayerList() function. I would change if player is the local player, if it is call ApplyLocalChanges() Now only the local player can see their own arrow buttons The next step is to add a play button that will appear for the host only. The play button will transition all the players in the room to the game scene. In the Update() function, I will check if it is the master client. If yes, enable the Play button, otherwise disable the play button. Using PhotonNetwork.LoadLevel("Game") to load into in the game scene when master presses the play button In ConnectToServer.cs, in OnClickConnect() function, I will call PhotonNetwork.AutomaticallySyncScene so that when master presses "Play", ALL users will load into the game scene The Play button will appear in the room for the master! This part was done before following the tutorial to select multiple characters. A component called PhotonView is added to the player prefab. This component is needed to be connected to the server. Any prefab to be spawned on the network must be in the Resources folder. So I moved the Player prefab into the Resources folder This part was done before following the tutorial to select multiple characters. In the player script. I check if the PhotonView isMine. This will let the user control their own players This part was done before following the tutorial to select multiple characters. To sync the position of the players across the network, a component called "PhotonTransformViewClassic" is added to the player and the "SynchornizePosition" field is enabled This part was done before following the tutorial to select multiple characters. Now I want to spawn the players in the game. I create a SpawnPlayer script and using PhotonNetwork.Instantiate This part was done before following the tutorial to select multiple characters. The player's movements are synched across the game. However, both are treated as Player1 and the enemies/bullets are not on the network yet. You can't see the other player's bullets and if the other player gets destroyed you won't notice. However, if the other player's network drops, it will disappear from your game This part was done before following the tutorial to select multiple characters. Another problem was that both players spawn in the same location. To resolve this, I do a check if it is IsMasterClient, spawn the player on the left spawn point. Otherwise, spawn in the right spawn point. I will only have max two players eventually so this way works This part was done before following the tutorial to select multiple characters. I wanted to see what happens when I have the internet turned off. It appears the OnJoinedLobby() callback function cannot be called but OnConnectedToMaster() will still be called-this may be because according to this documentation PhotonNetWork.IsMasterClient is always true when OfflineMode is set to true. With the internet turned off, if I press the 1 player button, the lobby will load and game functions in the editor. However, this means OnJoinedLobby() won't get called. I will revisit this again another time. Going to try to get the other items working online and shared across two players such as background/enemies/scoreboard This part was done before following the tutorial to select multiple characters. It was time to sync up the enemies. I moved all the enemies and explosions prefab to the Resources folder. On all of them I added the PhotonView component so they can be read across the network. Also added the PhotonTransformViewClassic and enabled synchronize Position. When I made the build and tested, the client will throw an error when trying to get the explosions:
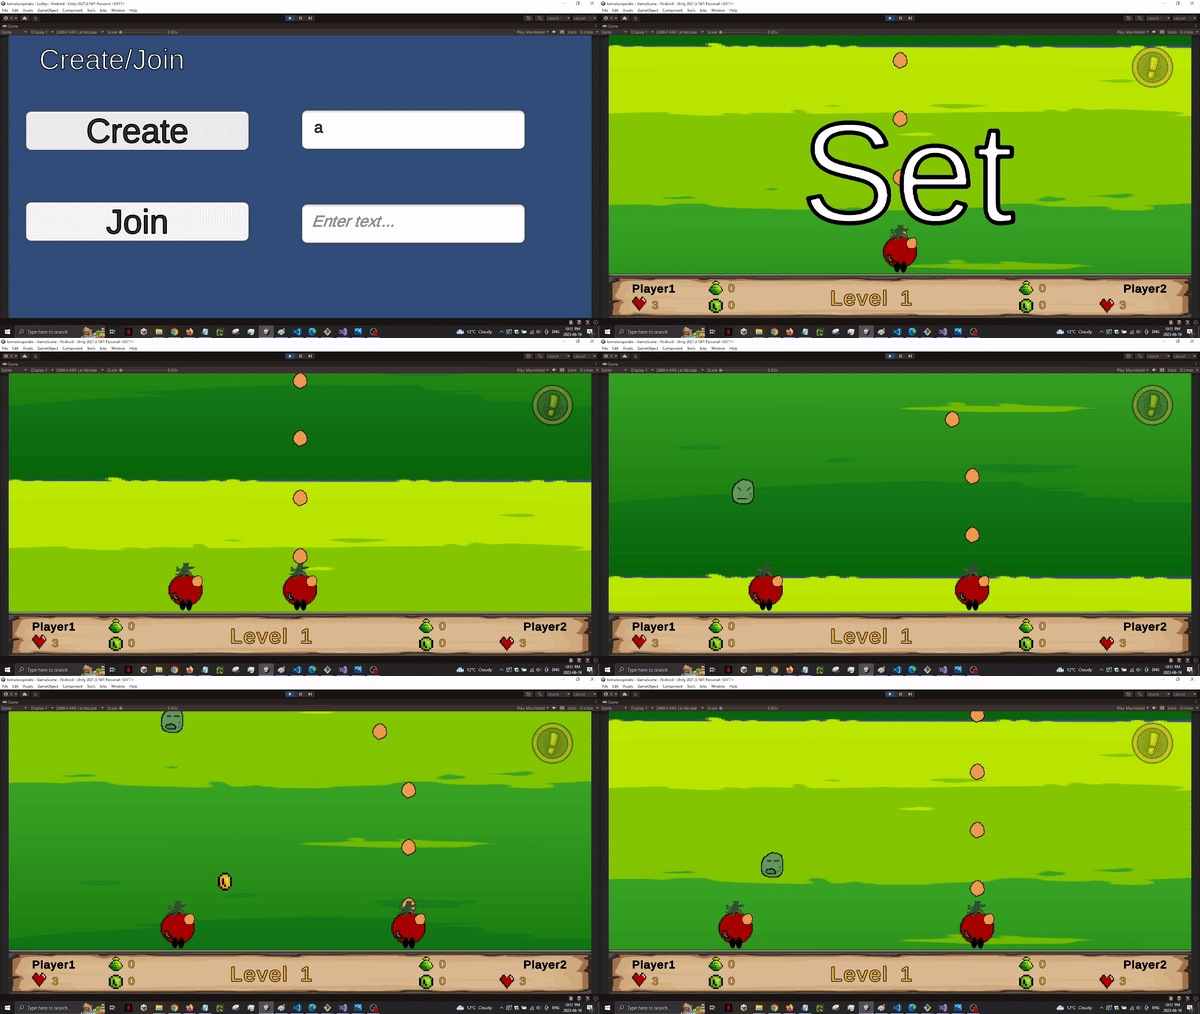
ArgumentOutOfRangeException: Index was out of range. Must be non-negative and less than the size of the collection.

The explosions pool objects were 0 for the client.
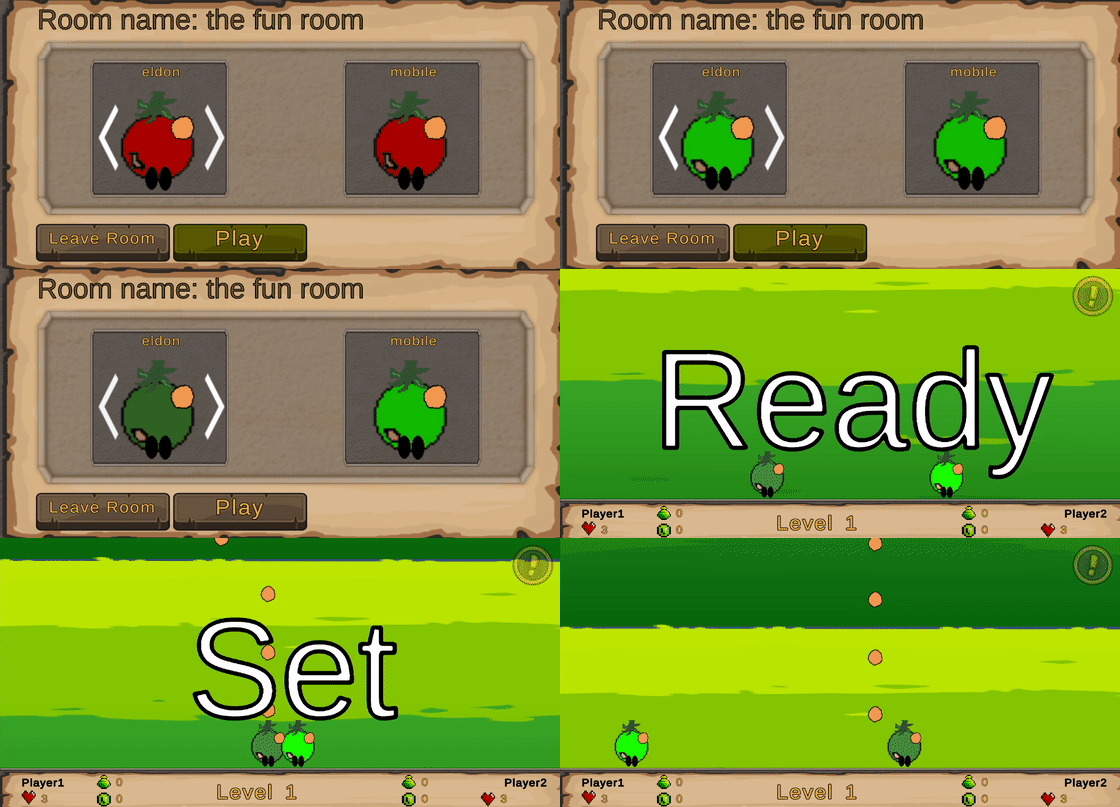
Back to select multiple character tutorial. I had to spawn the players in. In the tutorial, their way was to spawn player prefab(s) from the resources folder. I also spawn the player prefab from the resources folder, but only the sprite changes. I am having trouble syncing the sprites. I decided to use RPCs (Remote Procedure Calls) ChangeAvatar() function has a [PunRPC] attribute. I check if the player is myself and then update the sprite based on if it's the master or client. If the player never selected an avatar and pressed play, then set the sprite default to index 0 I made sure to assign the body and bodysprites(in the same order from lobby) so that there are sprites to select from. However, after doing all this, only the local player was changed. The other player could not see the actual sprite the other user has After researching around, it seems like my RPC function should have been working. So I decided to spawn ONE test prefab instead of two player prefab. This test prefab has PhotoView and has code that when I press "I" key, the RPC function will be called to change sprites. With this test, the RPC function appears to be working because when I press "I" in the editor to change sprites, I can see the sprite changing on the mobile. This tells me something is going on with the Player Prefab and my understanding of RPC is wrong When I added if(view.IsMine) in the testScript to spawn the test Prefab around the code in the RPC function, the changes gets applied only to the local one. So I decided to spawn only 1 player - whoever is the master. Then Get rid of view.IsMine check. However, calling the RPC function still has view.IsMine check. Then if it is the master client, assign a yellow sprite otherwise a green sprite. It turns out the RPC function is being called properly, but because I am checking the host or client, it will assign the sprite to the player(s). So I should be doing another check, maybe check the target player? Similar to how in LobbyManager I check if Local player is the target player then apply LocalChanges After multiple builds, I finally figured it out! I did have to use a similar approach of checking Photon.Realtime.Player with PhotonNetwork.LocalPlayer. Like the PlayerItem in lobby, I assign a variable to the Instantiate function then call SetPlayerInfo which I defined in Player script and pass in the Photon.Realtime.Player The SetPlayerInfo assigns the Photon.Realtime.Player that's passed in to the local Photon.Realtime.Player. Then I call UpdatePlayerItem(), passing in the player. UpdatePlayerItem() checks if it is itself then calls a RPC function The RPC function checks if the Photon.Realtime.Player contains the PlayerAvatar key. This will exist if the user pressed the arrow button in the lobby. If yes, assign the sprite (which is in a bodySprites array on the Player script). If the arrow button was not pressed, then the sprite is just the first one so index 0 of the bodysprite array As shown in the result below, the body that both player chooses gets synched across the network in the game This blog is getting long, I should probably start a new page. Part 5 can be found here
Recent blogs See all blogs